Support our educational content for free when you purchase through links on our site. Learn more
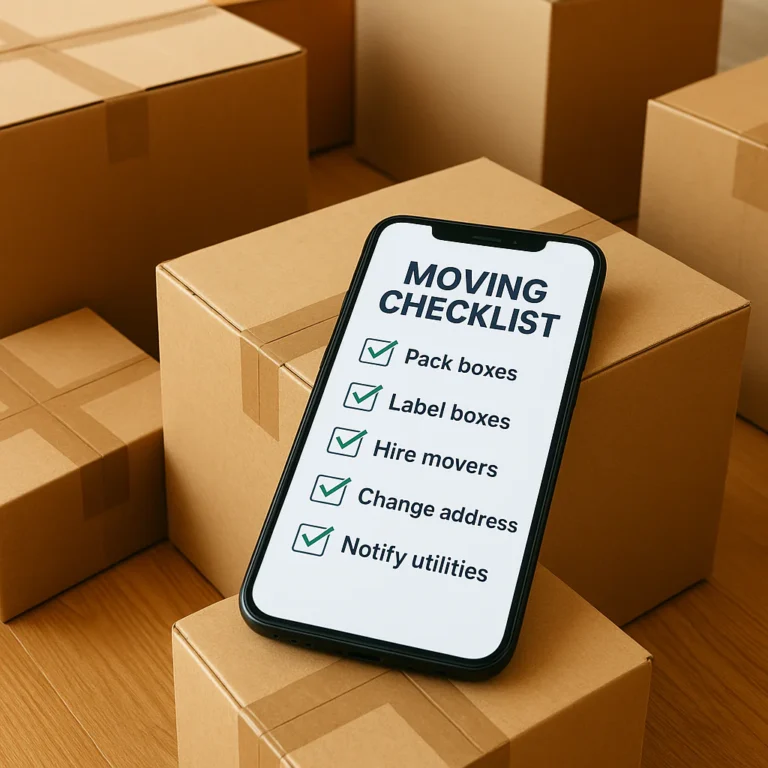
Rental Walkthrough Checklist [2024] 📋
Have you ever moved into a new rental property only to discover unexpected damages or issues? It can be frustrating and costly to deal with these problems after you’ve already signed the lease. That’s why a rental walkthrough checklist is an essential tool for both landlords and tenants. In this comprehensive guide, we’ll walk you through everything you need to know about rental walkthroughs, from when to do them to how to complete a thorough inspection. So grab your pen and paper, and let’s get started!
Table of Contents
- Quick Answer
- Quick Tips and Facts
- Background: The Importance of Rental Walkthroughs
- When to Do a Rental Walkthrough With Your Tenants
- How to Complete a Rental Walkthrough Checklist
- What to Look for During a Rental Walkthrough
- Managing Maintenance Requests With Avail
- FAQ
- Conclusion
- Recommended Links
- Reference Links
Quick Answer
A rental walkthrough checklist is a detailed inspection of a rental property conducted by both the landlord and the tenant before move-in and after move-out. It helps document the condition of the property and ensures that any damages or issues are addressed promptly. By completing a thorough walkthrough, both parties can avoid disputes and potential financial losses down the line. Don’t skip this crucial step!
🛒 👉 CHECK PRICE on: Rental Walkthrough Checklist | Avail | Walmart | Etsy
Quick Tips and Facts
- A rental walkthrough should be conducted before the tenant moves in and shortly after they move out.
- It’s important to document the condition of the property using photos, videos, or written notes.
- Both the landlord and the tenant should be present during the walkthrough to address any concerns or questions.
- Local landlord-tenant laws may dictate specific requirements for rental walkthroughs, so be sure to familiarize yourself with the regulations in your area.
Background: The Importance of Rental Walkthroughs

Renting a property is a significant financial commitment, whether you’re the landlord or the tenant. To protect both parties’ interests, it’s crucial to conduct a rental walkthrough before and after the tenancy. This process allows you to document the property’s condition and address any existing damages or issues.
For landlords, a rental walkthrough provides an opportunity to assess the property’s condition and identify any necessary repairs or maintenance tasks. It also helps establish a baseline for comparison when the tenant moves out, ensuring that any damages beyond normal wear and tear are properly addressed.
Tenants, on the other hand, benefit from a rental walkthrough by having the chance to identify and report any pre-existing damages or maintenance issues. By documenting these concerns, tenants can avoid being held responsible for damages they didn’t cause.
1. When to Do a Rental Walkthrough With Your Tenants
A rental walkthrough should be conducted at two key points during the tenancy: before the tenant moves in and shortly after they move out. Let’s explore each of these walkthroughs in more detail.
Move-In Walkthrough
The move-in walkthrough is typically conducted on the day the tenant receives the keys to the property. It’s essential for both the landlord and the tenant to be present during this inspection. Here’s why:
-
Establishing the Property’s Condition: The move-in walkthrough allows the tenant to assess the property’s condition and note any existing damages or issues. This documentation will serve as a reference point when the tenant moves out, ensuring they are not held responsible for pre-existing damages.
-
Addressing Maintenance Concerns: The tenant can use the move-in walkthrough to report any maintenance issues they discover, such as leaky faucets or malfunctioning appliances. By addressing these concerns early on, the landlord can ensure a comfortable living environment for the tenant.
-
Setting Expectations: The move-in walkthrough is an opportunity for the landlord to explain any specific rules or expectations regarding the property. This may include guidelines for maintenance, pet policies, or restrictions on alterations to the property.
Move-Out Walkthrough
The move-out walkthrough is conducted when the tenant is ready to vacate the property. Similar to the move-in walkthrough, both the landlord and the tenant should be present. Here’s why the move-out walkthrough is important:
-
Assessing Damages: The move-out walkthrough allows the landlord to assess the property’s condition and identify any damages beyond normal wear and tear. This assessment will help determine if any deductions need to be made from the tenant’s security deposit.
-
Discussing Repairs: If any damages are identified during the move-out walkthrough, the landlord can discuss repair options with the tenant. This transparency helps avoid disputes and ensures that repairs are completed promptly.
-
Returning the Security Deposit: The move-out walkthrough provides an opportunity for the landlord and the tenant to discuss the return of the security deposit. By addressing any outstanding issues during this walkthrough, both parties can reach a fair resolution.
2. How to Complete a Rental Walkthrough Checklist
Now that you understand the importance of rental walkthroughs, let’s dive into the step-by-step process of completing a thorough inspection. By following this checklist, you’ll ensure that no stone is left unturned and that both parties are satisfied with the condition of the property.
Step 1: Inspect Every Room
Start by inspecting each room in the rental property. Here are some key areas to focus on:
-
Walls: Check for any holes, cracks, or damages to the walls. Note any existing paint colors or wallpaper patterns to ensure the property is returned to its original condition.
-
Light Fixtures and Outlets: Test all light fixtures and outlets to ensure they are functioning correctly. Replace any burnt-out bulbs or address any electrical issues.
-
Floors and Carpets: Examine the floors and carpets for any damages, stains, or signs of wear and tear. Document any existing issues to avoid disputes later on.
-
Windows and Ceilings: Open and close all windows to ensure they are functioning properly. Check for any damages or leaks. Inspect the ceilings for water stains or cracks.
Step 2: Check for Safety
Safety should be a top priority during the rental walkthrough. Here’s what to look for:
-
Smoke and Carbon Monoxide Detectors: Test all smoke and carbon monoxide detectors to ensure they are working correctly. Replace batteries if necessary.
-
Maintenance Issues: Address any maintenance issues reported by the tenant, such as leaky faucets, faulty locks, or broken appliances. These repairs should be completed before the tenant moves in.
Step 3: Test for Plumbing Issues
Proper plumbing is essential for a comfortable living environment. Here’s what to check:
-
Bathrooms: Inspect the bathrooms for any leaks, water damage, or mold. Check the tub for large cracks or chips. Ensure that sinks, toilets, and showers are functioning properly.
-
Kitchens: Test the sinks, faucets, and garbage disposal for any leaks or malfunctions. Check for water damage under the sink and around the dishwasher.
Step 4: Check That Appliances Function Properly
If the rental property includes appliances, it’s important to ensure they are in good working condition. Here’s what to look for:
-
Refrigerator: Verify that the refrigerator is clean, undamaged, and cooling properly. Check the seals on the doors to ensure they are intact.
-
Dishwasher: Test the dishwasher to ensure it is functioning correctly. Look for any leaks or signs of damage.
-
Microwave: Check that the microwave is clean and working properly. Test all functions, such as heating and defrosting.
-
Washer and Dryer Units: If the rental property includes a washer and dryer, inspect them for any damages or malfunctions. Test each unit to ensure they are working correctly.
Step 5: Open Cabinets and Drawers Attached to the House
Don’t forget to check the cabinets and drawers attached to the house. Here’s what to look for:
-
Doors and Hinges: Confirm that all doors and hinges open and close properly. Look for any damages or signs of wear and tear.
-
Damage: Check for any damages inside the cabinets and drawers. Document any existing issues to avoid disputes later on.
Step 6: Check the Backyard (If Applicable)
If the rental property has a backyard, it’s important to inspect it as well. Here’s what to look for:
-
Damage: Look for any signs of damage, such as broken fences, damaged landscaping, or unauthorized items left behind by previous tenants.
-
Pet Waste Disposal: If the property allows pets, ensure that there are proper pet waste disposal options available. Address any concerns related to pet waste management.
By following these steps and documenting any damages or issues, you’ll have a comprehensive rental walkthrough checklist that protects both the landlord and the tenant.
3. What to Look for During a Rental Walkthrough
During a rental walkthrough, it’s important to pay attention to specific areas and features of the property. Here are some additional items to include in your checklist:
-
Exterior: Inspect the exterior of the property, including the roof, siding, and foundation. Look for any damages or signs of wear and tear.
-
Landscaping: Check the landscaping for proper maintenance. Address any concerns related to overgrown plants, dead trees, or inadequate drainage.
-
Utilities: Test all utilities, including water, electricity, and gas, to ensure they are functioning properly. Address any issues with utility providers promptly.
-
Security Measures: Verify that all security measures, such as locks, alarms, and security cameras, are in good working condition. Address any concerns related to safety and security.
Remember, a thorough rental walkthrough is crucial for both landlords and tenants. By documenting the property’s condition and addressing any existing damages or issues, you can avoid disputes and ensure a smooth tenancy.
4. Managing Maintenance Requests With Avail
Managing maintenance requests can be a time-consuming task for both landlords and tenants. That’s where Avail comes in. Avail is a comprehensive property management platform that simplifies the rental process for both parties.
With Avail, landlords can easily track and manage maintenance requests from tenants. The platform allows tenants to submit maintenance requests online, providing all the necessary details and supporting documentation. Landlords can then prioritize and address these requests efficiently, ensuring a timely resolution.
Avail also offers a range of other features, including online rent collection, tenant screening, and lease management. By using Avail, landlords can streamline their rental operations and provide a better experience for their tenants.
Learn more about how Avail can help you manage maintenance requests and simplify the rental process by visiting their website: Avail
FAQ

What do landlords look for in a walkthrough?
During a rental walkthrough, landlords typically look for damages, maintenance issues, and any alterations made by the tenant. They also assess the overall condition of the property and ensure that safety measures, such as smoke detectors, are in place.
Read more about “What is a Move-in Move-out Checklist? … ✅”
How do I prepare for a rental walkthrough?
To prepare for a rental walkthrough, tenants should clean the property, remove any personal belongings, and address any maintenance issues they can handle. It’s also helpful to familiarize yourself with the rental agreement and any specific rules or expectations set by the landlord.
Read more about “Move-In Checklist Apartment: Your Ultimate Guide to a Hassle-Free Move! … 📦”
What is a rental inventory checklist?
A rental inventory checklist is a detailed list of all the items and their condition within a rental property. It helps document the property’s contents and condition, protecting both the landlord and the tenant from disputes regarding damages or missing items.
Read more about “What do I need to do 6 weeks before moving? … 🚚”
What is a walkthrough at the end of a lease?
A walkthrough at the end of a lease is conducted when the tenant is ready to vacate the property. It allows the landlord to assess the property’s condition and identify any damages beyond normal wear and tear. This assessment helps determine if any deductions need to be made from the tenant’s security deposit.
Conclusion
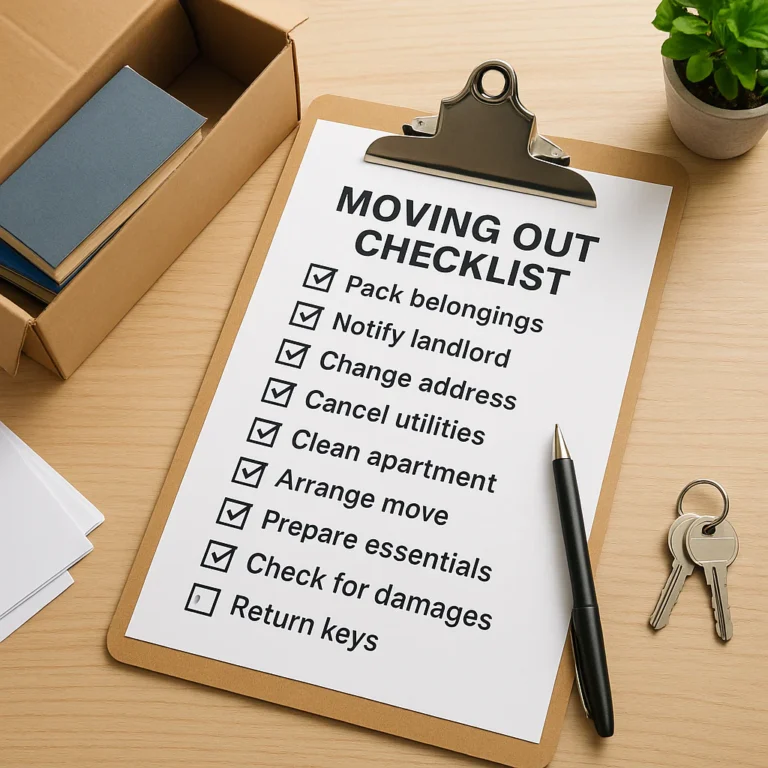
 Center for Specialized Studies which is attached by Holy shine of Imam Hussian (p.b.u.h) by Moving Checklist")
A rental walkthrough checklist is an essential tool for both landlords and tenants. By conducting a thorough inspection before move-in and after move-out, you can document the property’s condition, address any damages or issues, and avoid disputes down the line. Remember to be thorough, take photos or videos, and communicate openly with the other party.
So, whether you’re a landlord or a tenant, don’t skip the rental walkthrough! It’s a crucial step in ensuring a smooth and hassle-free rental experience.
Now that you’re armed with all the knowledge you need, it’s time to put it into action. Grab your rental walkthrough checklist, schedule a time with your landlord or tenant, and get ready to make your move-in or move-out a success!
Recommended Links
- Moving Essentials
- Moving Day Checklist
- Packing Tips
- Long Distance Moves
- Home Organization
- Move-In Checklist Apartment: Your Ultimate Guide to a Hassle-Free Move! 2024 📦